How to Manage User Access
Create users, assign roles and grant menu rights.
Purpose
Add a new user, link them to a role with appropriate rights, and limit them to the locations they should be able to operate in. Doing this well at install time means you spend almost no time on per-user permissions later — users inherit from their role.
Before you begin
- Decision on the user's role (Counter / Standard / Administrator).
- List of locations this user is permitted to access.
- A temporary password (the user will be forced to change on first login).
- Decision on shift hours, if you want to restrict login by time-of-day.
- Optional: a Staff Detail record to link — ties login to attendance.
Steps
- Start → Administration & Setup → File Management → Standard Users.
- Click New.
- Enter LoginID, full name and temporary password. Link to the Staff Detail record if one exists.
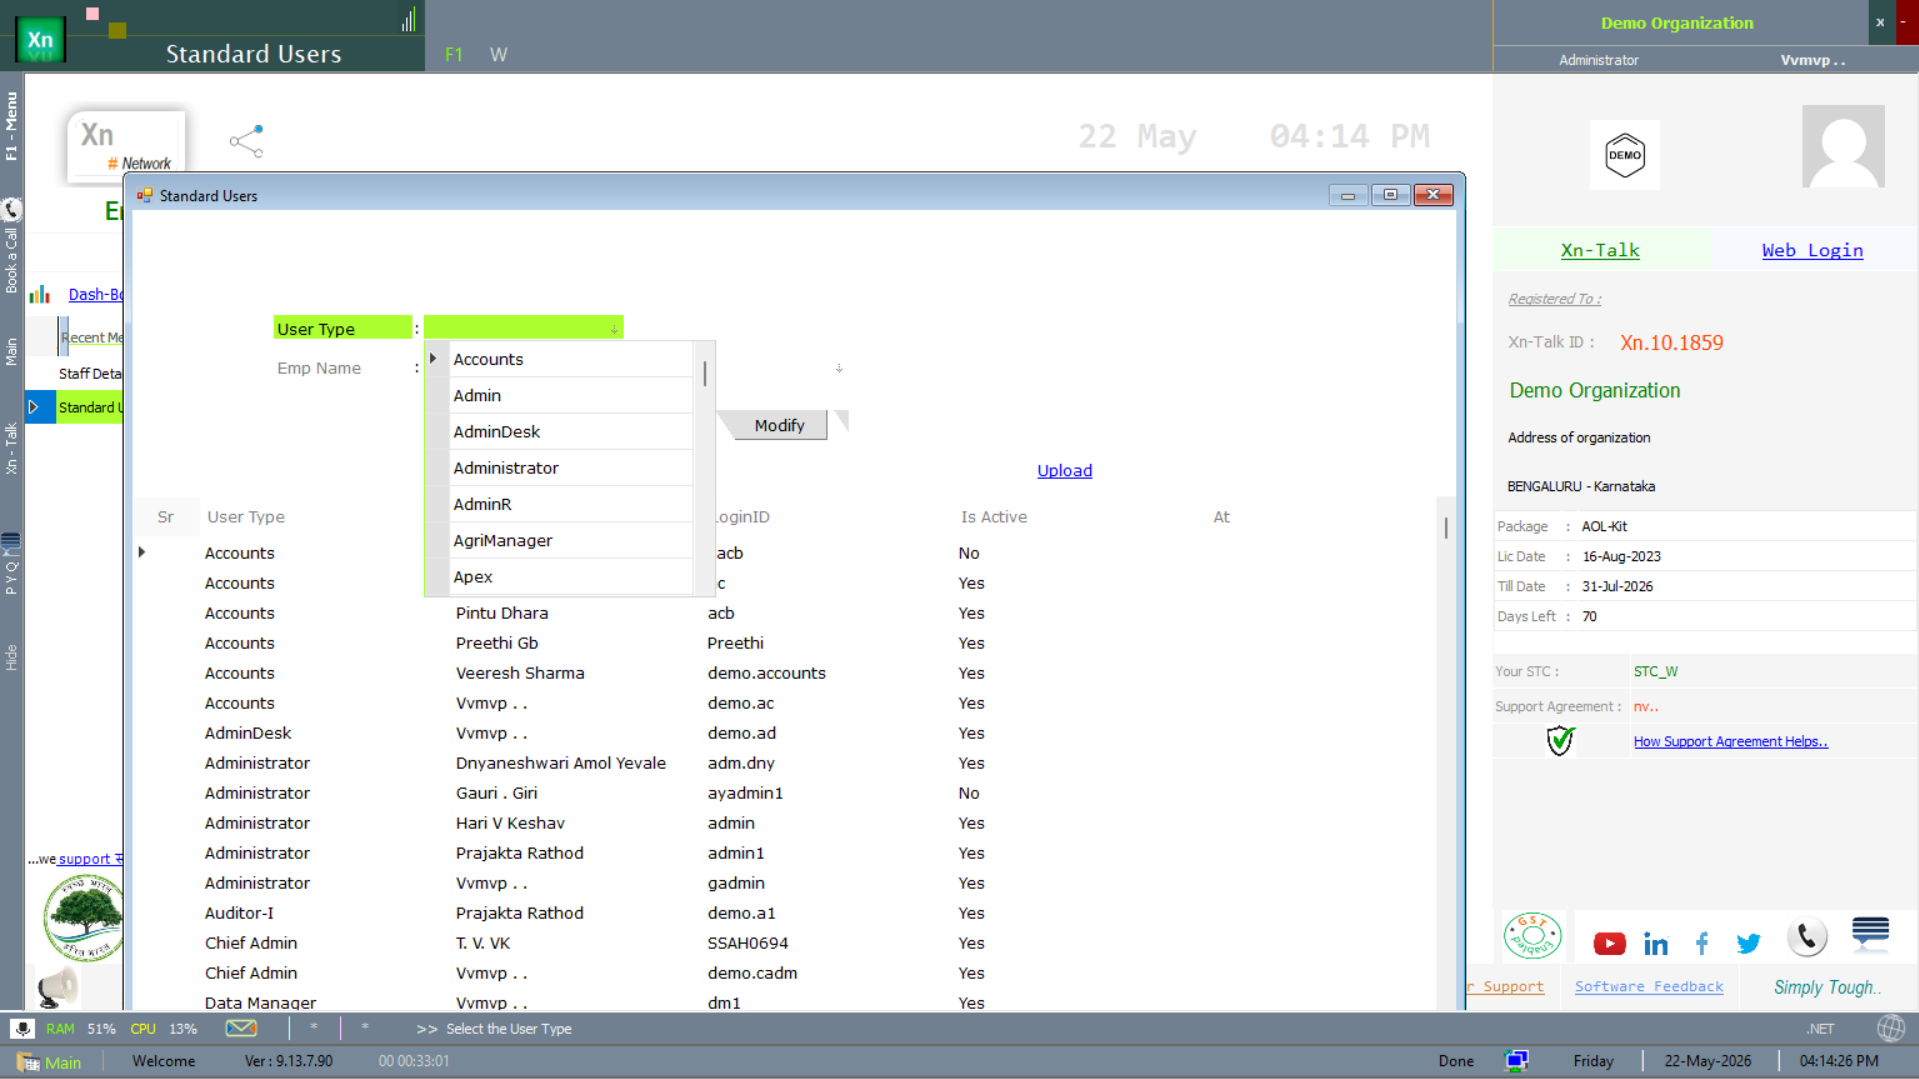
- Pick the user type and the role template (this populates menu rights from the role).
- Under Locations, tick the branches / counters this user can log in to.
- Optionally restrict the days and hours they can log in (useful for shift workers and to harden security against off-hours mis-use).
- Click Save.
- For finer control go to Access Setting and tick / untick individual menu numbers for this user.
- Send the temporary password to the user over a secure channel — not the same email as the LoginID.
What success looks like
- The new user can log in at the listed locations during the listed hours, sees only the menus their role grants, and is forced to change password on first login.
- Standard Users list shows the new user as active.
- If linked to a Staff Detail, attendance for the linked employee is auto-stamped on login.
Troubleshooting
- User cannot log in — "Location not allowed".
- The location they picked at login is not ticked under their Locations. Re-edit the user and tick it.
- User sees menus they should not.
- The role template grants those menus. Either pick a stricter role or override individual menus under Access Setting.
- Forgot to change password — user is locked out.
- See How to Reset a Forgotten Password.
Tips
- Use role templates rather than per-user rights wherever possible — it makes audits much easier.
- Disable (do not delete) departing employees, so their old transactions still attribute to a recognisable name.
- Audit the active-users list quarterly and disable anyone who has not logged in for 90 days.
- Warning. Never share the Administrator login. Create a named admin user per administrator so audit trails attribute correctly.
Related guides & modules
- How to Reset a Forgotten Password
- How to Add a New Employee (link login to staff)
- Modules › Admin Setup › File Management
The two screens this guide uses
The active screens for the steps above are the Standard Users master and the User List report. The system-side audit / activity-log screens that often surface in the same area are documented separately under File Management → Audit Log.
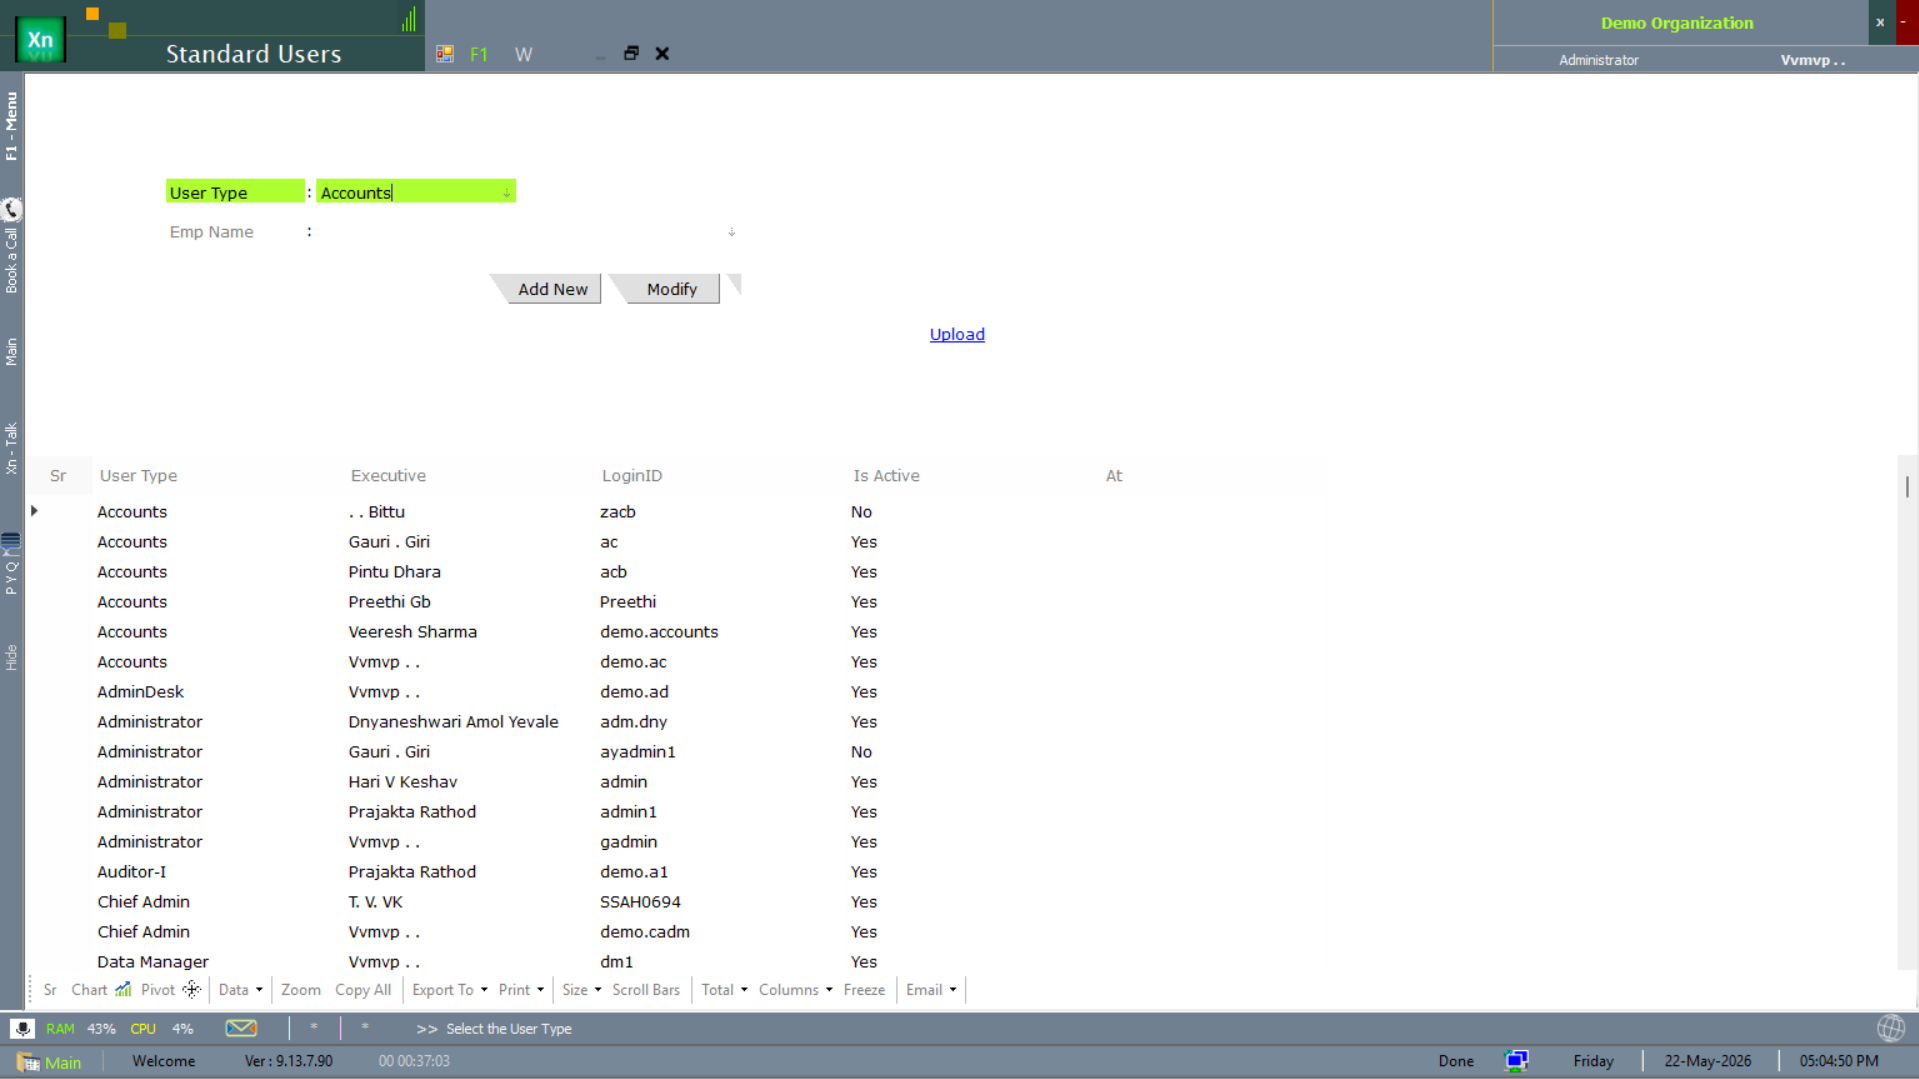
Standard Users
The user master list with role filter. Add, edit and disable users from here.
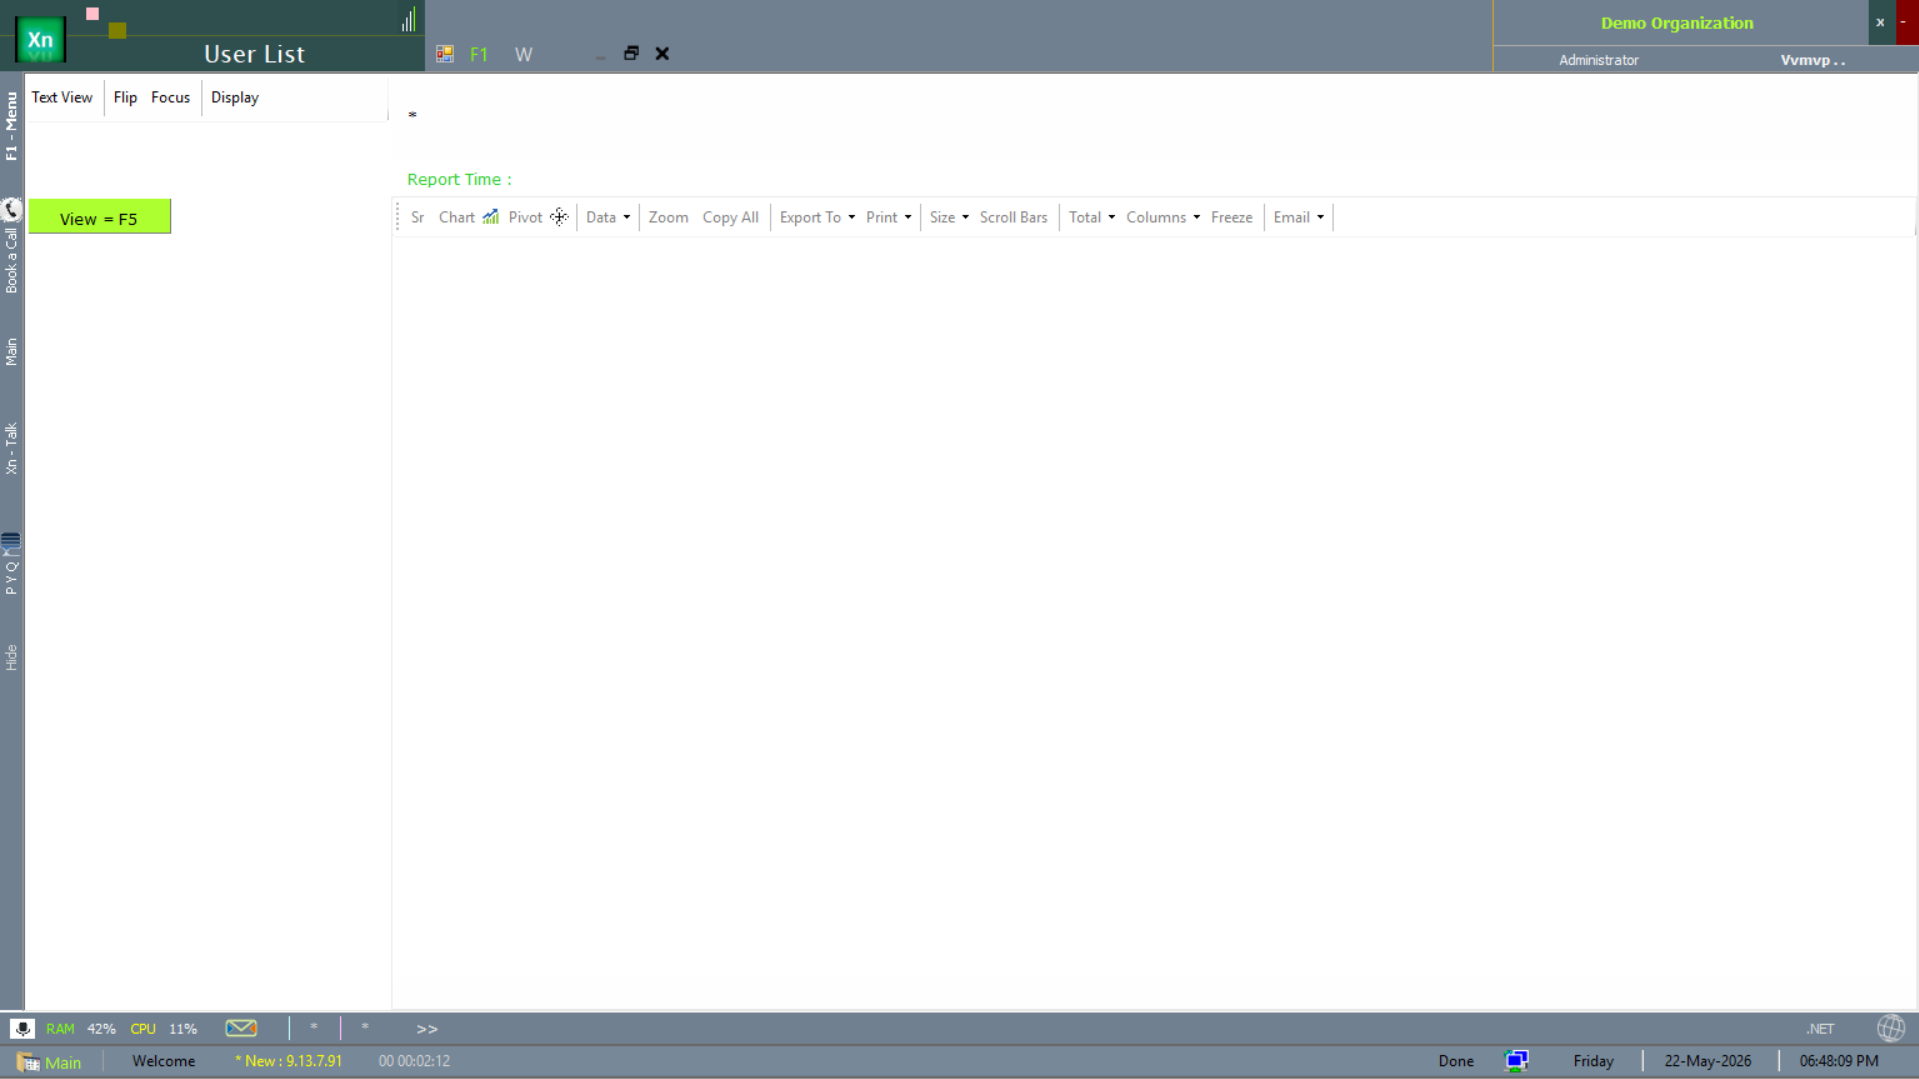
User List report
The User List report is the export-friendly read-only view of every user — useful for quarterly access audits.